结论
这篇教程只讲一件事:给一个独立站接入 Supabase 邮箱注册和邮箱登录。
你最终会得到:
- 一个 Supabase 项目。
- 一个可以保存用户邮箱的
profiles表。 - 邮箱注册和邮箱登录能力。
- 注册后的邮箱确认邮件。
- 本地开发环境的 Supabase 环境变量。
- 登录成功后能在服务端读到当前用户。
不包含:第三方登录、支付、会员系统、复杂权限系统。
第 1 步:创建 Supabase 项目
打开 Supabase 官网并登录:
https://supabase.com进入 Dashboard 后点击 New project,选择 Organization,输入项目名,设置数据库密码,选择 Region,然后等待项目初始化完成。
第 2 步:创建 profiles 表
进入 Supabase 后台左侧菜单:
SQL Editor -> New query把下面 SQL 复制进去,然后点击 Run。
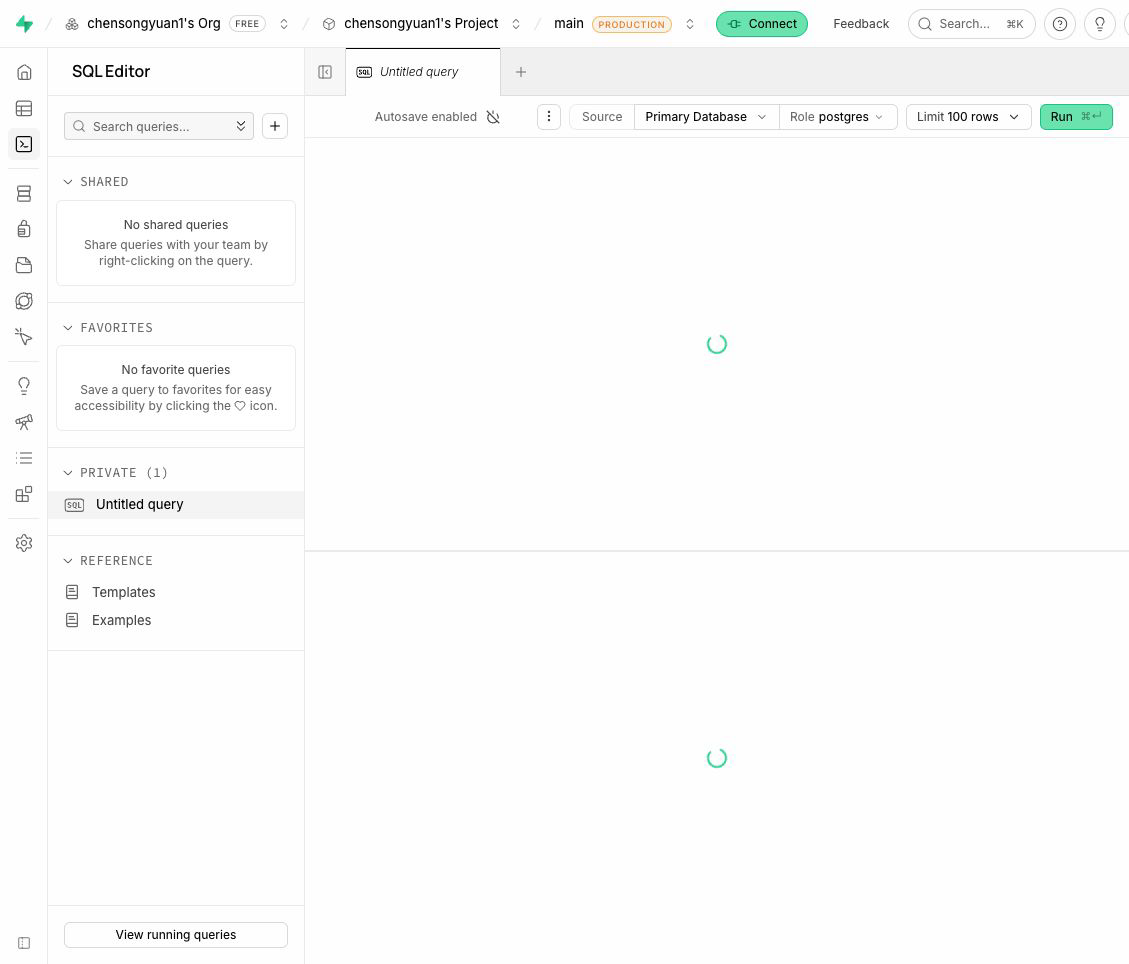
create extension if not exists pgcrypto;

create table public.profiles (
  id uuid primary key references auth.users(id) on delete cascade,
  email text,
  display_name text,
  avatar_url text,
  created_at timestamptz default now()
);
第 3 步:开启 RLS
RLS 是 Row Level Security,意思是行级安全。简单理解:用户只能访问自己有权限访问的行。
alter table public.profiles enable row level security;

create policy "profiles_select_own"
  on public.profiles for select
  using (auth.uid() = id);

create policy "profiles_update_own"
  on public.profiles for update
  using (auth.uid() = id)
  with check (auth.uid() = id);
第 4 步:注册后自动写入 profiles
Supabase Auth 创建用户后,用户会先出现在 auth.users。为了让 public.profiles 也自动有一条记录,需要创建 trigger。
create or replace function public.handle_new_user()
returns trigger
language plpgsql
security definer set search_path = public
as $$
begin
  insert into public.profiles (id, email, display_name, avatar_url)
  values (
    new.id,
    new.email,
    coalesce(new.raw_user_meta_data->>'full_name', new.raw_user_meta_data->>'name'),
    new.raw_user_meta_data->>'avatar_url'
  )
  on conflict (id) do nothing;
  return new;
end;
$$;

create trigger on_auth_user_created
  after insert on auth.users
  for each row execute procedure public.handle_new_user();
第 5 步:配置注册登录地址
进入:
Authentication -> URL Configuration本地开发时,先这样填:
Site URL:
http://localhost:3000

Redirect URLs:
http://localhost:3000/auth/callback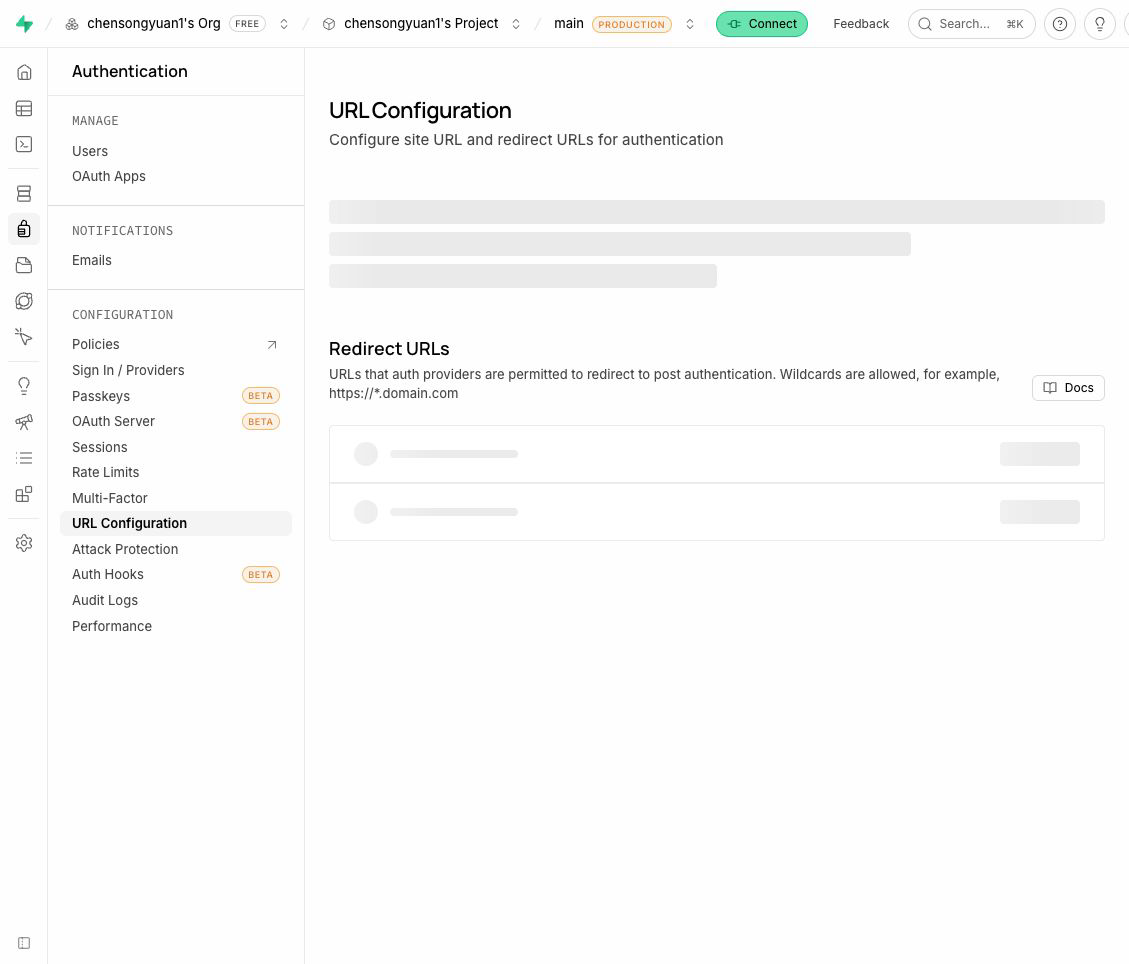
上线后,把 Site URL 改成正式域名,并额外添加正式域名的 /auth/callback。本地地址不要删。
第 6 步:开启邮箱注册
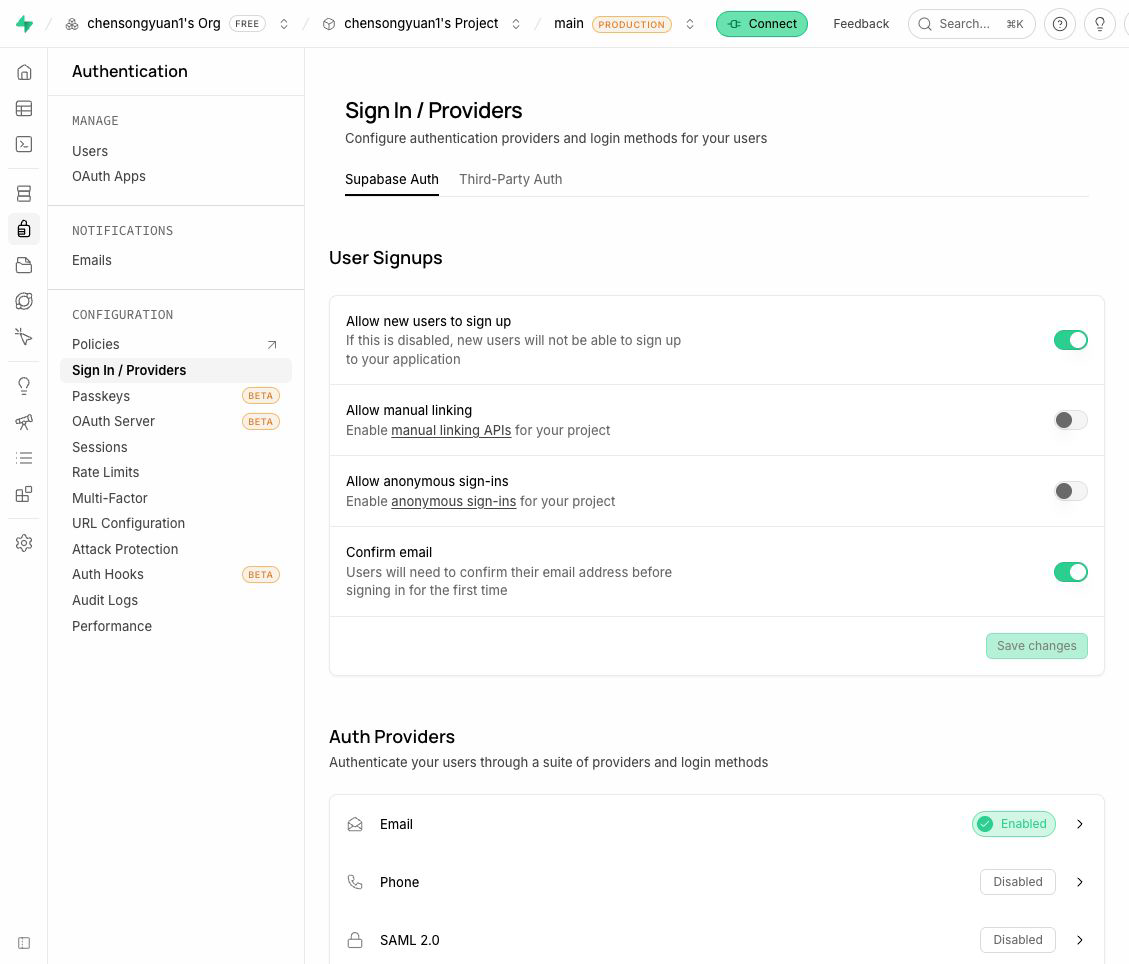
进入:
Authentication -> Sign In / Providers确认三处状态:
Allow new users to sign up:开启。Email:Enabled。Confirm email:建议上线前开启。
第 7 步:复制 Supabase 连接信息
在 Supabase 项目顶部点击 Connect,复制项目 URL 和公开 key。不要复制 service role key。
NEXT_PUBLIC_SUPABASE_URL=https://你的项目ref.supabase.co
NEXT_PUBLIC_SUPABASE_ANON_KEY=你的 publishable 或 anon key
第 8 步:写入本地环境变量
在项目根目录创建 .env.local:
NEXT_PUBLIC_SITE_URL=http://localhost:3000
NEXT_PUBLIC_SUPABASE_URL=https://你的项目ref.supabase.co
NEXT_PUBLIC_SUPABASE_ANON_KEY=你的 publishable 或 anon key
NEXT_PUBLIC_PLAUSIBLE_DOMAIN=
修改环境变量后重启本地服务:
npm run dev第 9 步:安装 Supabase 客户端
如果项目还没有安装 Supabase 依赖,执行:
npm install @supabase/supabase-js @supabase/ssr浏览器端创建 client:
import { createBrowserClient } from "@supabase/ssr";

export function createClientSupabase() {
  return createBrowserClient(
    process.env.NEXT_PUBLIC_SUPABASE_URL!,
    process.env.NEXT_PUBLIC_SUPABASE_ANON_KEY!
  );
}
第 10 步:写注册逻辑
await supabase.auth.signUp({
  email,
  password,
  options: {
    emailRedirectTo: `${location.origin}/auth/callback`
  }
});
如果 Confirm email 是开启状态,注册后提示用户检查邮箱确认邮件。
第 11 步:写登录逻辑
const { error } = await supabase.auth.signInWithPassword({
  email,
  password
});

if (error) {
  setMessage(error.message);
  return;
}

router.push("/account");
router.refresh();
第 12 步:写 Auth Callback
export async function GET(request: NextRequest) {
  const requestUrl = new URL(request.url);
  const code = requestUrl.searchParams.get("code");

  if (code) {
    const supabase = await createServerSupabase();
    await supabase.auth.exchangeCodeForSession(code);
  }

  return NextResponse.redirect(new URL("/account", requestUrl.origin));
}
文件路径:
app/auth/callback/route.ts第 13 步:验证 profiles 是否写入
注册完成后,回到 Supabase:
Table Editor -> profiles你应该能看到刚注册用户的邮箱。也可以在 SQL Editor 查询:
select id, email, display_name, created_at
from public.profiles
order by created_at desc;
最小测试流程
- 打开网站的
/login。 - 切换到注册。
- 输入邮箱和密码。
- 点击注册。
- 打开邮箱,找到 Supabase 发来的确认邮件。
- 点击确认链接。
- 回到网站登录。
- 登录成功后进入
/account。 - 到 Supabase 的
Authentication -> Users看用户是否存在。 - 到
Table Editor -> profiles看邮箱是否同步。
常见问题
收不到邮件,先查垃圾邮件、广告邮件和促销邮件。
提示 Invalid login credentials,通常是邮箱还没确认、密码输错,或者用户没有注册成功。
确认邮件点完没有回到网站,通常是 Redirect URLs 没配置对。